If you are a professional photographer, amateur photographer or just a photo enthusiast I, S, and O are three letters that you should be very familiar with. Understanding ISO is a huge part of understanding how photography works and is one of the three major factors in balancing out the perfect exposure; the other two being shutter speed and aperture. Most all digital cameras from a point-and-shoot to a full size pro DSLR have multiple ISO settings for you to choose from. Of course every camera is different and some have much bigger ISO ranges than others but no matter what camera you are using the benefits of having a solid grasp on exactly what ISO is and how it works is mandatory to taking your photography to the next level. Hit up this crash course on ISO and then get out there and shoot.
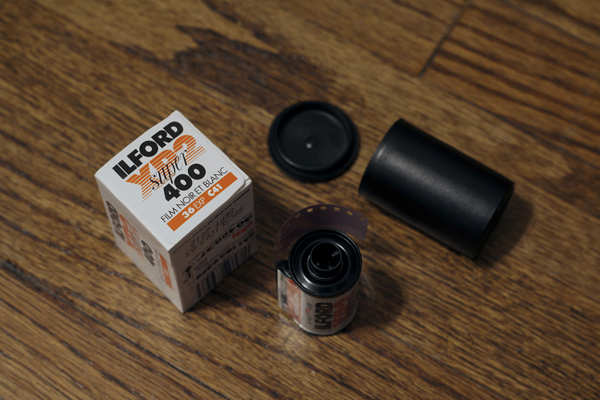
ISO stands for “International Standards Organization” which are those who are responsible for putting this widely used standard in place. If you are familiar with film at all then you should know that ISO is the same as ASA or “film speed” which is the standard by which film sensitivity is rated. Think of it like going to the camera store to buy 100, 200, 400, 1600, and 3200 speed film but instead of actually having to go to the store and buy the different films, all you have to do is simply change the settings in your camera. The lower the film speed, the less-sensitive it is to light and the same goes for digital in the sense that the lower the ISO setting, the less sensitive it is to light. Basically you have to think of your sensor just like a roll of film. Only, in a digital camera you can change the sensitivity of the “film” with the push of a button.
One thing to note is that the ISO scale works similar to shutter speed meaning that when the ISO is doubled, the exposure is also doubled. A low ISO gives a low shutter speed and a high ISO gives a high shutter speed. Again, just think of it as how sensitive the sensor is to light. The higher the ISO, the more sensitive the sensor will be to light. This means that shooting in low light requires a higher ISO because you need the sensor to be as sensitive as possible to the little amount of light that you may have. On the flip side of that when you are out in sunlight you should be shooting at the lowest ISO possible. This gives you the best image that you can get from your camera. Always keep in mind that the lower the ISO, the better the image quality and the end goal should be the best photo possible so keep that ISO low.
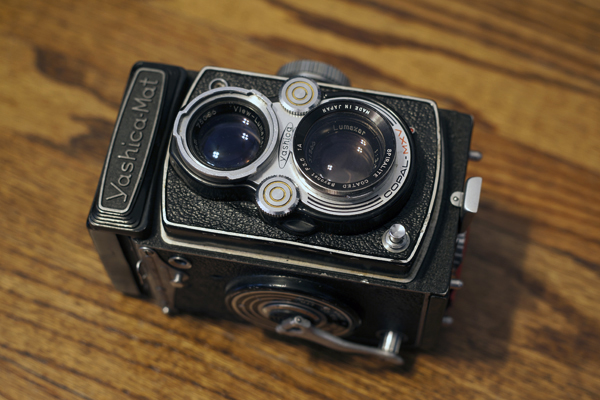
The easiest way to show the effects of changing your ISO settings is to compare images. I shot two identical images on a tripod with the same exact settings except for the ISO. The first one above was shot with the ISO set to 50, which is as low as my camera goes. Now, you have to understand that shooting with the lowest setting is going to require a longer shutter speed and in some cases depending on how much light is available, a much longer shutter speed. The photo above was shot at f4 and required a shutter speed of 8 seconds for the perfect exposure, which is obviously where the tripod came in handy.
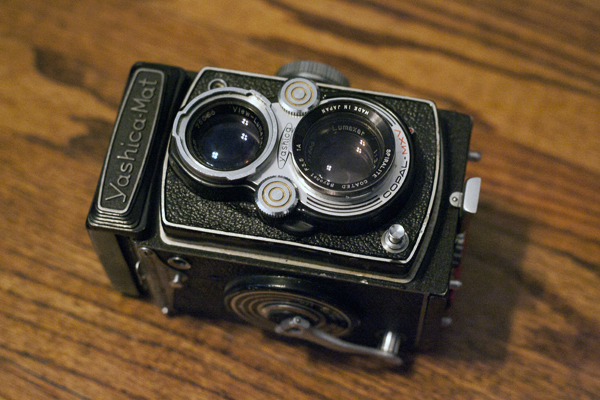
Now, compare that to the next photo above, which was shot at f4 and required a shutter speed of 1/8s, which is obviously quite a difference. Although the photos look pretty similar at this small size, check out the actual differences in the close-up photos below.
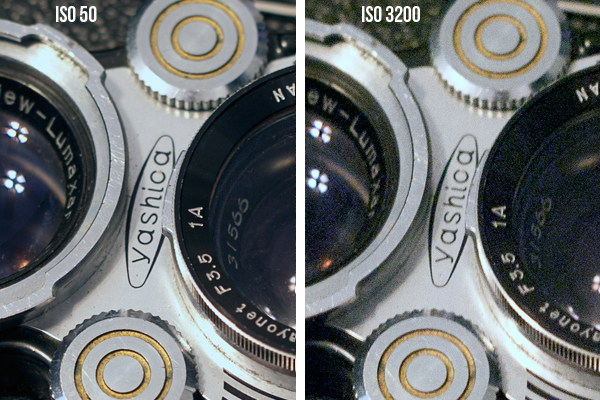
When you look at these two it is very obvious that the quality is drastically different with the only variable being ISO. Also, the color isn’t as accurate at the higher ISO setting and overall it just doesn’t look as good.
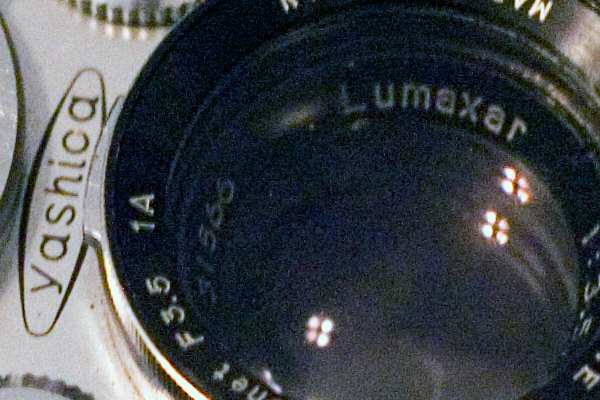
Take a closer look at the image shot at ISO 3200. Noise is the digital term for “grain” and although the concept is similar a noisy digital image always looks worse than a grainy film photo. Just understand that “noise” is a photographer’s enemy and it is very rare that you would actually want noise in your photographs.
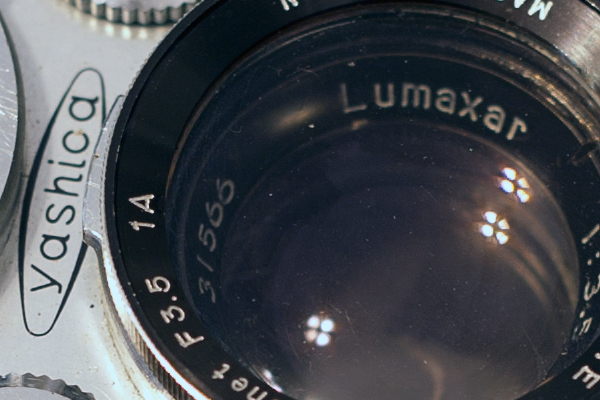
Now, a closer look at the image shot at ISO 50 shows a much cleaner, crisper image. Not only is it sharper, but also the color is more accurate and the blacks are way more solid giving a much better look overall.
Of course there are different times to use a higher ISO setting compared to a lower one and one of the most important things for you to understand is when. Obviously after looking at the photos above you should be convinced that a using a lower ISO is the only way to go when shooting. But, if you are indoors in a low light setting or the sun is going down you may not have any other choice. Also, it depends on the application as well. Say you are shooting a natural light sequence with a rider and the daylight is fading quickly. It may not be your goal to bump the ISO up but you may not have any other options. When it comes down to it and it’s either turn the ISO up or stop shooting don’t be crazy and just bump the ISO up. There are filters and plug-ins that will help with reducing noise that you can look into as well. Also, I have shot plenty of sequences that have run in print at 3200 ISO. Sure, the individual photos are quite small but the point is that you can work with a high ISO image if you need to.
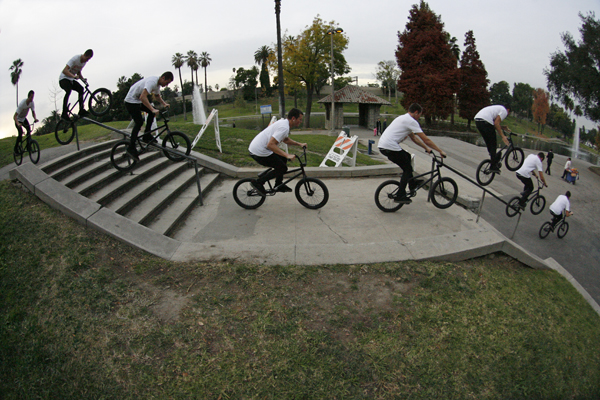
Sometimes you just don’t have a choice. Take this image of Kevin Kiraly for example. This is a sequence that we shot for an interview a while back. Although we started when there was plenty of daylight left it faded quickly and before long my camera was maxed out. Seeing as how I still needed a fast enough shutter speed to stop the action we didn’t have much left to work with so the ISO got maxed out. Luckily Kevin got the line before it was too late and everything worked out. Adapting to your environment and problem solving are both huge parts of being a photographer and knowing what settings to use and when.
Grasping the concept of ISO isn’t necessarily an easy one so don’t be stressed if it takes a little bit of time to fully understand. The best thing that you can do is get out there and practice and see how each setting works differently. I always say this but make mistakes and learn from them. Be your own worst critic and don’t stop trying to progress.
Don’t forget that the THROUGH THE LENS CONTEST #2 is in full swing. Don’t forget to get out there and put in work for your chance to win some rad products from Madera.
Be sure to check back next Wednesday for the seventeenth edition of Through the Lens. As always feel free to leave any questions in the comments section or email me at info@jeremypavia.com and I will hit you back as soon as I can. Feel free to follow me on Twitter and Instagram @jeremypavia.
Don’t forget to follow The Union on Twitter @BMX_UNION and “Like” us on Facebook.com/BMXunion.
Check out past editions of Through The Lens below…
